https://drive.google.com/drive/folders/1UNv8JqxWZjL0doJ-YdWu5XQIyRQdUT5H?usp=drive_link
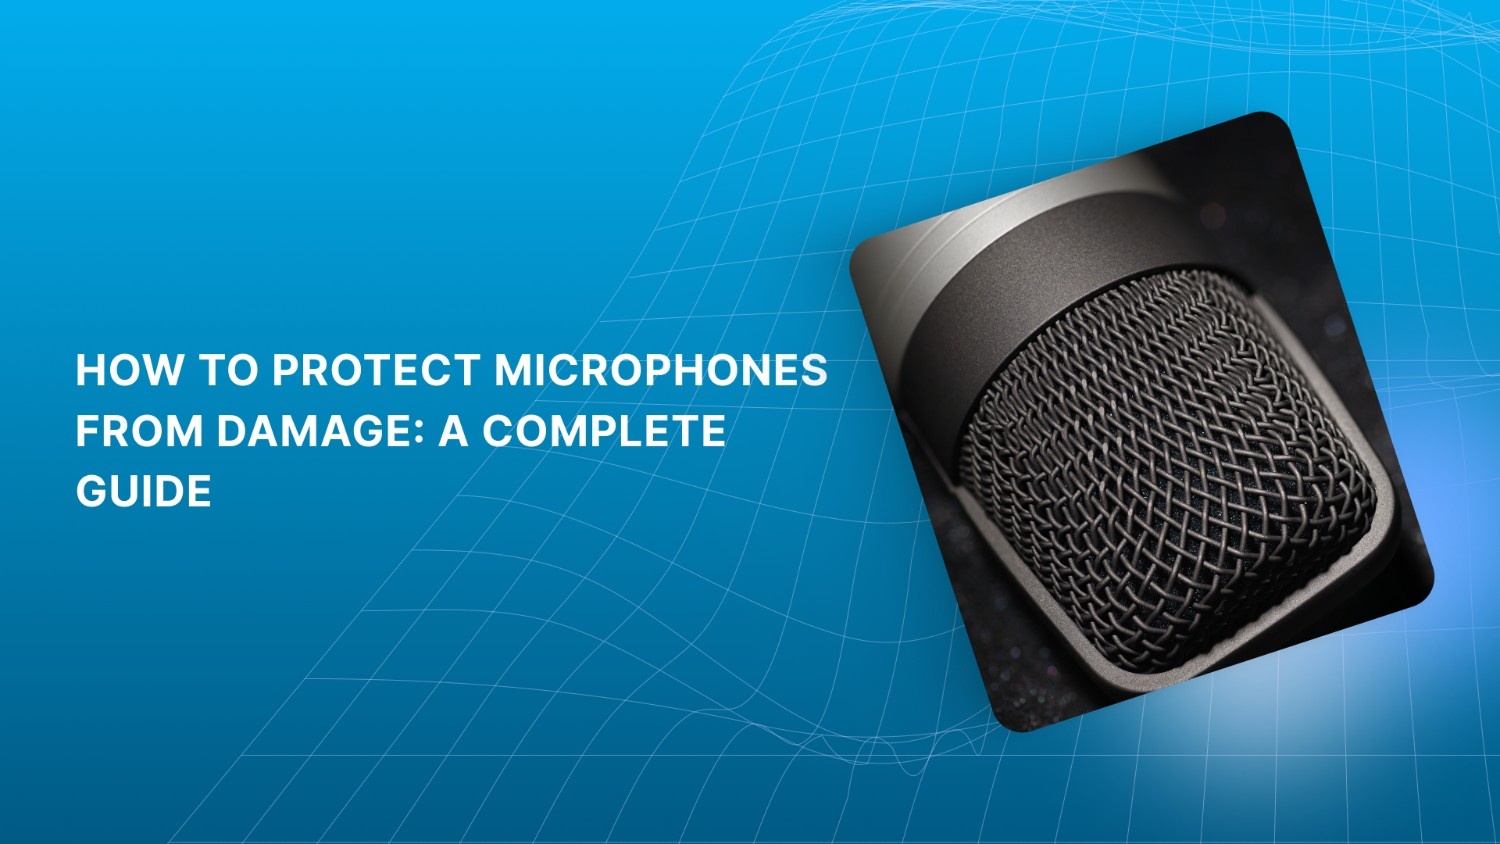
Microphones are built to capture sound, but without proper care, they’re often the first piece of equipment to fail. Whether you’re in a busy office, a recording studio, or working on-site at an event, microphones are prone to damage from drops, moisture, or improper storage. This leads to costly repairs, downtime, and disrupted workflows, placing a heavy burden on businesses.
In this guide, we’ll show you how to protect your microphones and avoid these costly issues. We’ll cover the best practices for handling, cleaning, storing, and maintaining your gear, so it stays in optimal condition. Let’s get started and ensure your equipment lasts as long as it should.
Quick Recap
Use Proper Mic Protection: Always use a mic protector, such as a windscreen or disposable cover, to guard against moisture, dust, and impact.
Clean and Handle Carefully: Regular gentle cleaning and careful handling prevent buildup, protect components, and maintain clear, sound quality.
Store the Right Way: Keep microphones in protective cases with moisture control to avoid environmental damage and extend lifespan.
Follow Safe Usage Practices: Maintain proper distance, avoid high SPL exposure, and power equipment correctly to protect delicate parts.
Invest in Quality Accessories: Reliable windscreens, hygiene covers, and protection tools ensure durability, hygiene, and consistent performance.
Why It’s Important to Clean and Disinfect Your Microphones
Microphones face exposure to a range of external elements, and without regular cleaning, they can quickly accumulate contaminants. Here’s why keeping your microphones clean and disinfected is essential:
Protect Sound Quality: Saliva, skin oils, and dust can accumulate over time, leading to muffled audio, interference, and reduced clarity. Regular cleaning helps maintain clear, crisp sound.
Prevent Equipment Damage: Dirt and moisture left on the microphone can damage sensitive internal components, leading to performance issues or expensive repairs.
Improve Longevity: Cleaning and disinfecting extend your microphone's longevity by preventing contaminants from causing wear and tear, which can degrade sound quality and functionality.
Hygiene Matters in Shared Environments: In settings like call centers, recording studios, or public speaking events, microphones are used by multiple people. Disinfecting helps prevent the spread of germs and bacteria.
Maintain Professional Standards: Regular maintenance keeps your equipment in top condition, ensuring it’s always ready for high-quality recordings or broadcasts.
Neglecting to clean and disinfect your microphones may seem like a minor oversight, but over time, it can affect both performance and hygiene, leading to bigger issues down the line.
Scan Sound offers specialized protection for your microphones, including disposable covers and microphone windscreens. Our products are designed for a range of microphones, including headsets and shotgun mics, to ensure durability and optimal sound quality.
Now that we’ve covered why microphone care is crucial, let’s explore the different types of microphones and how each requires specific attention.
Understanding the Different Types of Microphones
Before beginning the cleaning process, it’s essential to know the types of microphones you're working with. Different microphone designs require different care. Here’s a breakdown of the most common types:
Dynamic Microphones: These microphones are built for durability, making them ideal for live sound environments. With their simple design, dynamic mics can handle more wear and tear, making them easier to clean.
Condenser Microphones: Condenser mics are highly sensitive and often used in studio settings to capture clear, detailed sound. Due to their delicate diaphragm, they require more careful handling and cleaning to avoid damage.
Ribbon Microphones: Known for their exceptional sound quality, ribbon microphones are extremely fragile. The ribbon inside is sensitive to moisture, so it's critical to avoid liquid-based cleaners to prevent permanent damage.
Understanding these differences will help you approach each microphone with proper care and cleaning methods, ensuring long-term performance and reliability.
Once you know the type of microphone you’re working with, it’s time to gather the right tools and materials for cleaning.
Tools and Materials Needed for Cleaning Microphones
To properly clean and disinfect your microphones, you’ll need a few key tools to ensure the process is safe and effective. Here’s what you’ll require:
Microfiber Cloth: Use a soft, lint-free cloth to gently wipe down the microphone's exterior, removing dirt and oils without scratching the surface.
Isopropyl Alcohol (70% or higher): A small amount on a cloth or cotton swab helps disinfect the mic and remove grime, but avoid excessive use.
Cotton Swabs/Q-tips: Great for reaching small areas like the microphone grille or vents where dirt can accumulate.
Compressed Air Canister: Ideal for blowing out dust and debris from hard-to-reach places without risking damage.
Soft-Bristle Brush: Use this to gently clean the mic's mesh or grill, especially if it's covered in fine dust.
Distilled Water: When cleaning delicate components, such as the mic capsule, distilled water is safer than tap water, which can leave mineral deposits.
Anti-bacterial Wipes: Use wipes designed for electronics to disinfect the microphone's surface and reduce the spread of germs in shared environments.
Disposable Gloves: These protect the microphone from oils or dirt on your hands while cleaning and ensure safe handling of cleaning agents.
Screwdriver: Some microphones may need to be disassembled for deeper cleaning. A small screwdriver helps safely open up the mic if needed.
Note: Never submerge a microphone in water or other liquids, and always ensure the cleaning agents you use are compatible with electronics to avoid damage.
By gathering these materials, you’ll have everything you need for a thorough, safe cleaning process.
With the proper tools in hand, let’s walk through the step-by-step process of cleaning a dynamic microphone.
How to Clean a Dynamic Microphone
Dynamic microphones are known for their durability, but they still require regular cleaning to maintain their performance. Here’s a simple, step-by-step guide to keeping your dynamic microphone in top shape:
Remove the Grille: Start by gently unscrewing or popping off the grille, the metal mesh covering the microphone head. Handle it carefully to avoid damaging the threads.
Clean the Grille: Soak the grille in a mild soap solution. Use a soft-bristle brush to scrub it lightly. After cleaning, rinse with distilled water and allow it to air-dry completely before reattaching.
Clean the Foam Windscreen: Remove the foam windscreen and wash it with the soap solution. Gently squeeze out excess water, then let it air dry thoroughly. Avoid using heat, as it can warp the foam.
Wipe the Microphone Body: Dampen a microfiber cloth with a small amount of isopropyl alcohol and gently wipe down the microphone body. Don’t forget the buttons or switches, where dirt often collects.
Remove Internal Dust: Use a can of compressed air to carefully blow out any dust that may have built up inside the microphone grille or around the external ports.
Cleaning Frequency Recommendations
High-use microphones (e.g., live performances, podcast studios): Clean at least once a week to ensure optimal sound quality.
Shared microphones (e.g., interviews, public speaking events): Clean after each use to maintain hygiene and performance.
Personal microphones (in controlled environments such as studios): A monthly cleaning routine should suffice.
Following these instructions keeps your dynamic microphones in excellent condition, extending their lifespan and ensuring they perform at their best.
While dynamic microphones are relatively simple to clean, condenser microphones require a more delicate approach. Here's how to properly care for them.
How to Care for Condenser Microphones
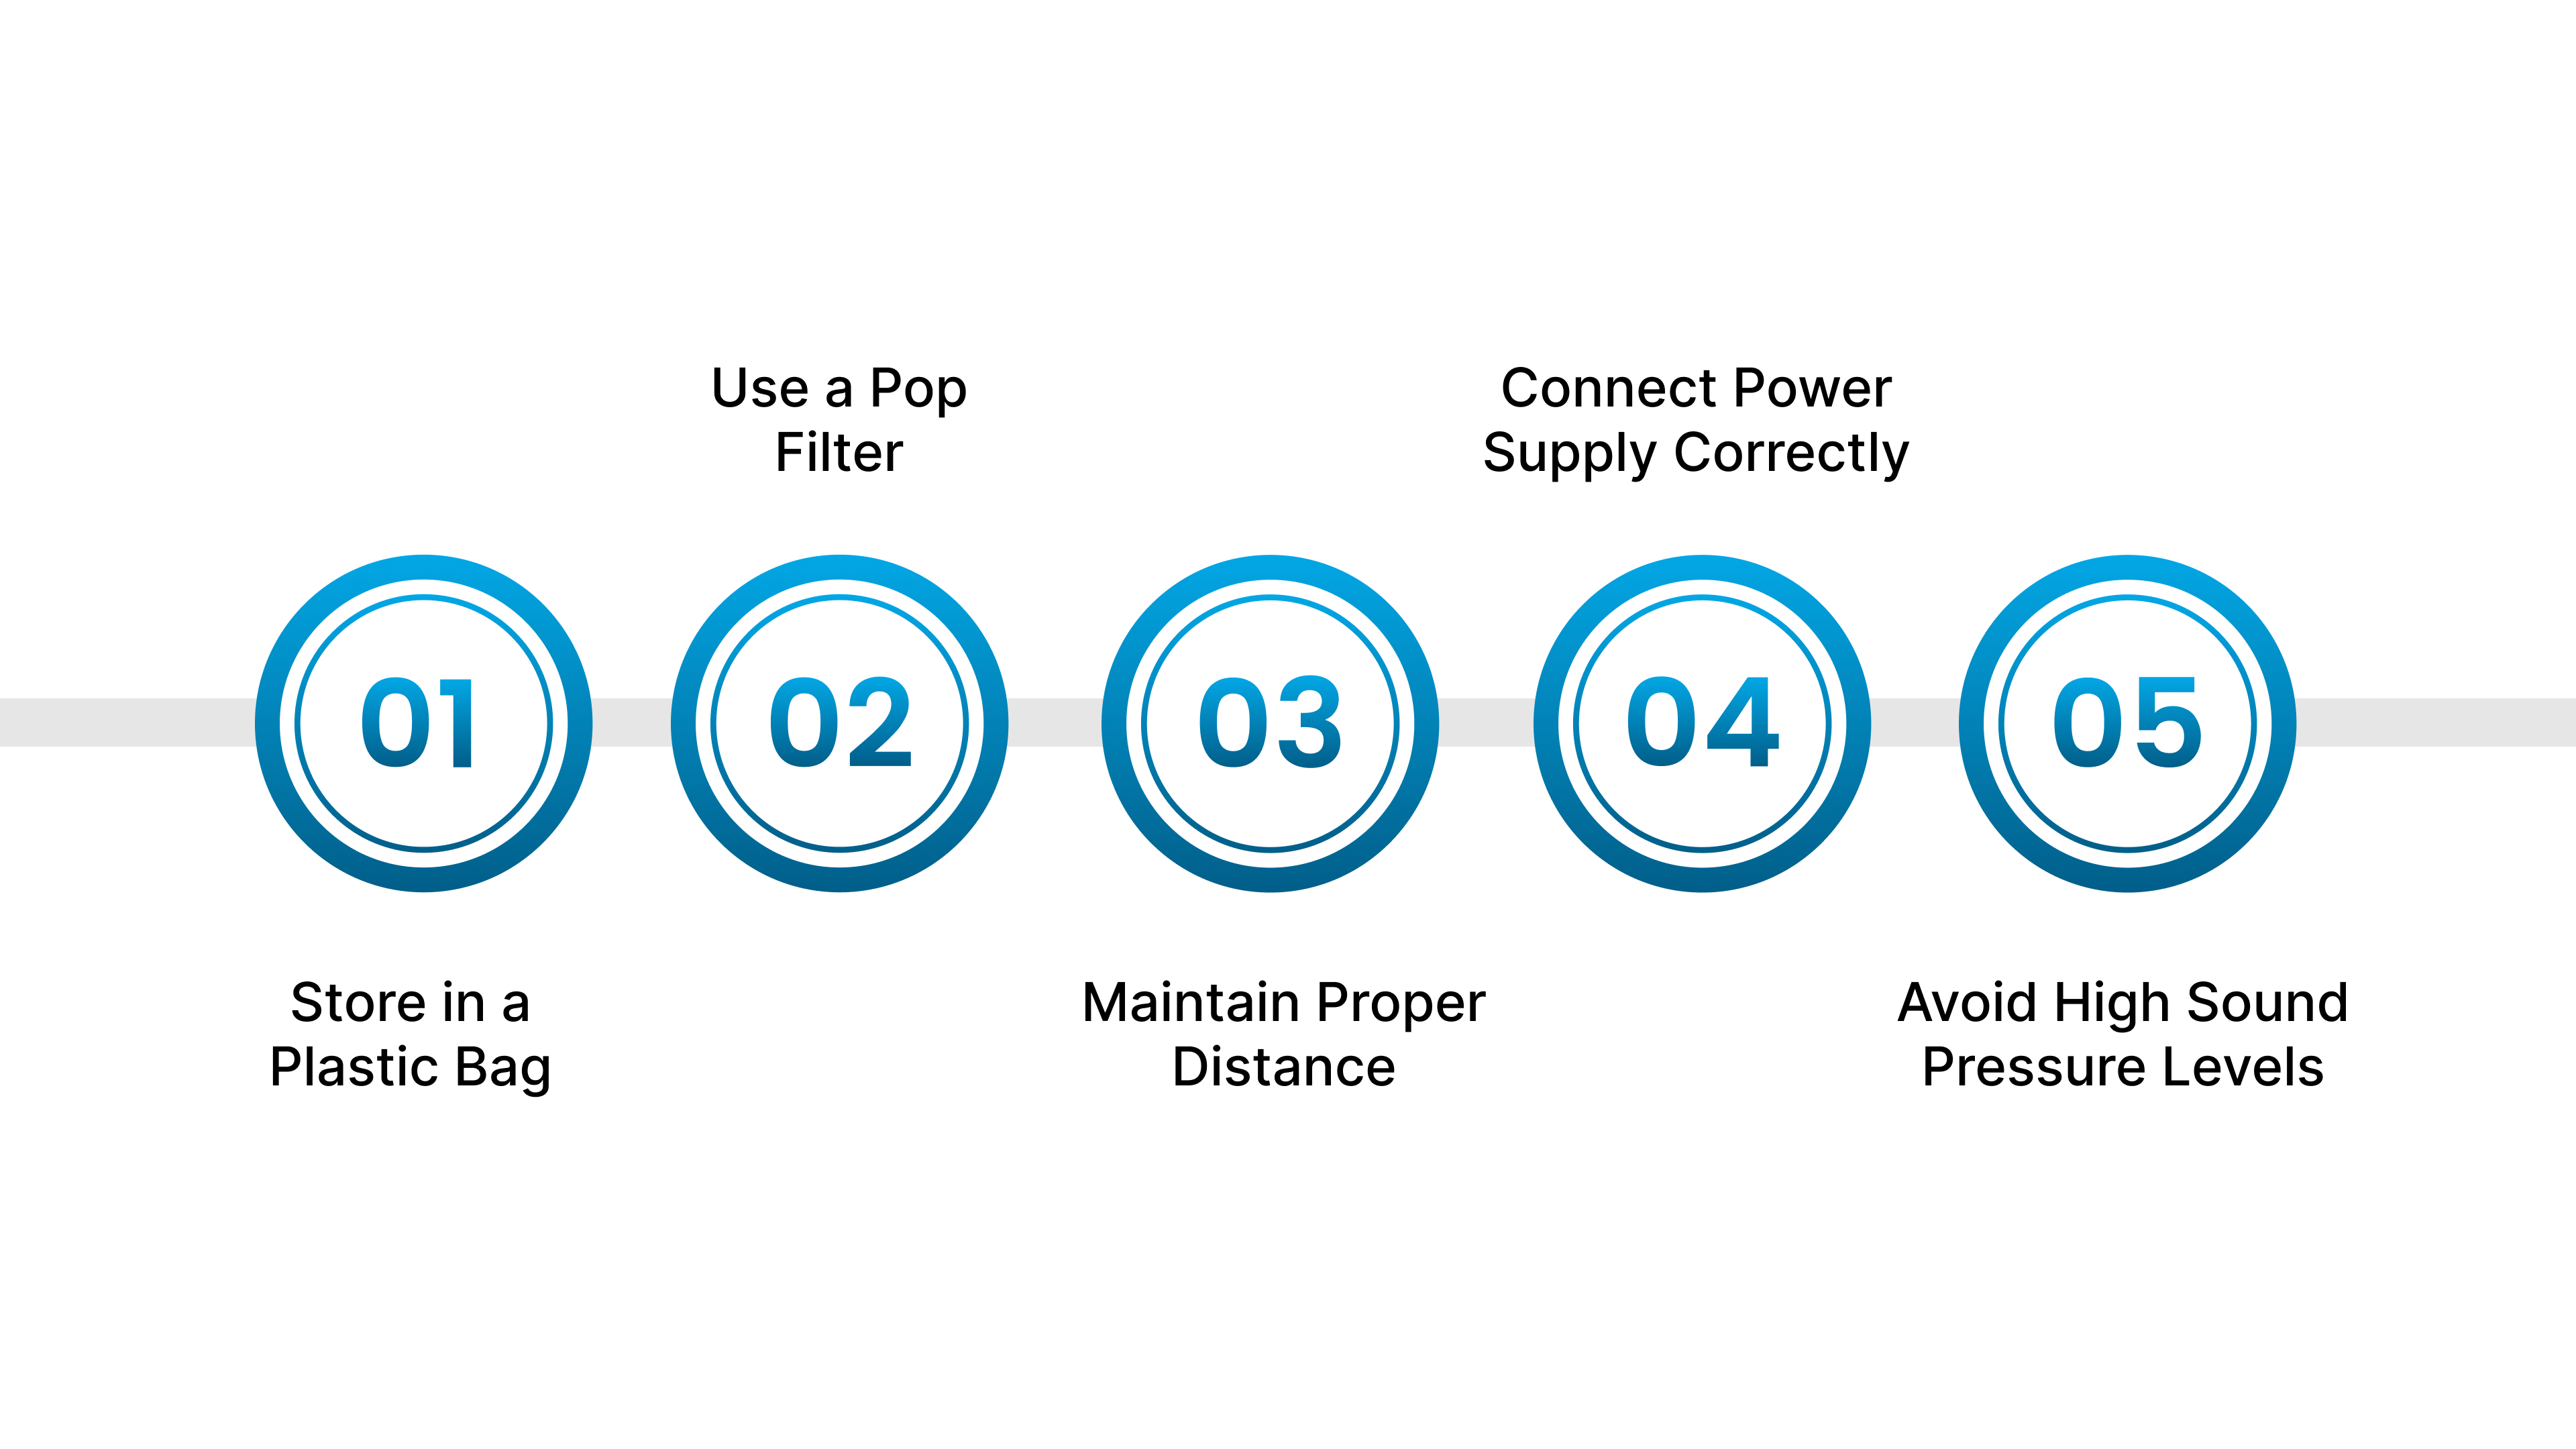
Condenser microphones are widely recognized as the go-to choice for high-quality sound in studios, capturing detailed nuances and clarity. However, these sensitive instruments require proper care to maintain their performance and longevity.
Store in a Plastic Bag: Keep your condenser mic in a plastic bag when not in use. This simple step prevents dust and particles from settling on the sensitive capsule, ensuring it stays clean.
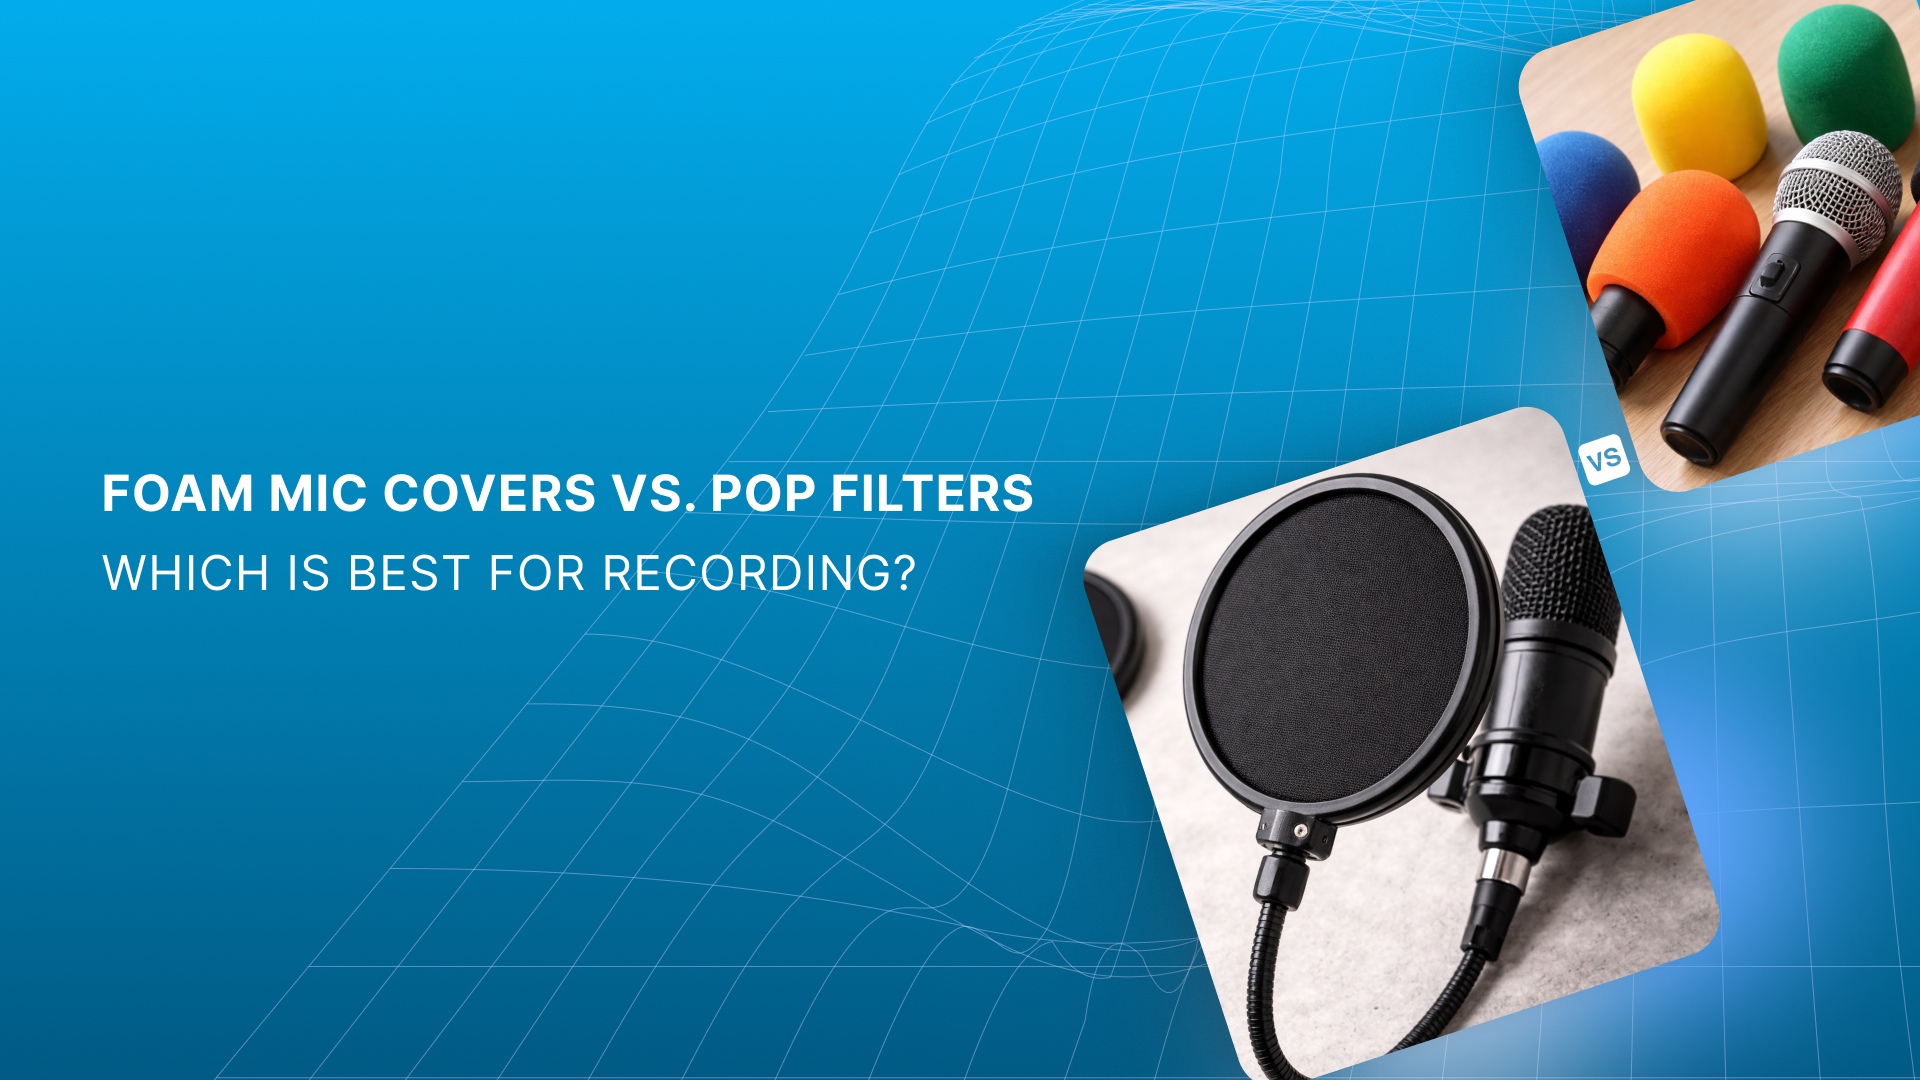
Use a Pop Filter: Always use a stocking-style pop filter when recording vocals. It stops saliva mist from damaging the diaphragm and prevents the capsule from attracting airborne particles that could affect sound quality.
Maintain Proper Distance: Ensure a minimum distance of six inches between the mic and the sound source. This helps prevent plosives from damaging the capsule and preserves sound clarity.
Connect Power Supply Correctly: When using a tube condenser mic, always connect the cable to the power supply before turning it on. Hot-plugging can cause a voltage shock that damages or destroys the tube.
Avoid High Sound Pressure Levels (SPL): Never expose your condenser mic to sound levels beyond what your ears can handle. Excessive SPL can degrade the capsule’s diaphragm over time, just like it can harm your hearing.
With proper handling and maintenance, your condenser mic will remain a reliable workhorse, capturing professional-quality sound for years to come.
Condenser microphones require care, but ribbon microphones are even more fragile. Let’s look at how to handle them safely.
Also Read: Which Earpads or Cushions Will Fit on Headsets
How to Care for Ribbon Microphones
Ribbon microphones are known for their precise, smooth sound, but they require a more delicate touch than dynamic mics. While modern ribbon mics are more durable than vintage models, they’re still sensitive to mishandling. Here’s how to care for your ribbon mic and keep it in top condition:
Always cover it: Never leave your ribbon mic uncovered, especially on the floor. The powerful magnets can attract small metal particles that distort sound.
Don’t lend it to beginners: Ribbon mics require proper handling. A novice might unknowingly damage the mic, like blowing into it or mishandling its delicate parts.
Position it off-axis: When close-miking loud sources, position the mic slightly off-axis to protect it from high-energy blasts, which could damage the ribbon.
Angle the ribbon properly: For high-energy instruments like kick drums, angle the mic at a 45-degree angle to the source. This helps protect the ribbon from excessive air pressure.
Turn off phantom power: While ribbon mics can technically be connected to phantom-powered mic inputs, always turn off phantom power before connecting.
Equalize air pressure after flights: If you’ve flown with your ribbon mic, loosen the case’s relief valve before opening it to prevent damage from air pressure differences during flight.
Following these simple steps ensures your ribbon mic stays in great shape, delivering high-quality sound without unnecessary wear and tear.
Now that you know how to clean and care for your mics, let's focus on strategies that can help prolong their life even further.
Strategies for Prolonging Microphone Life
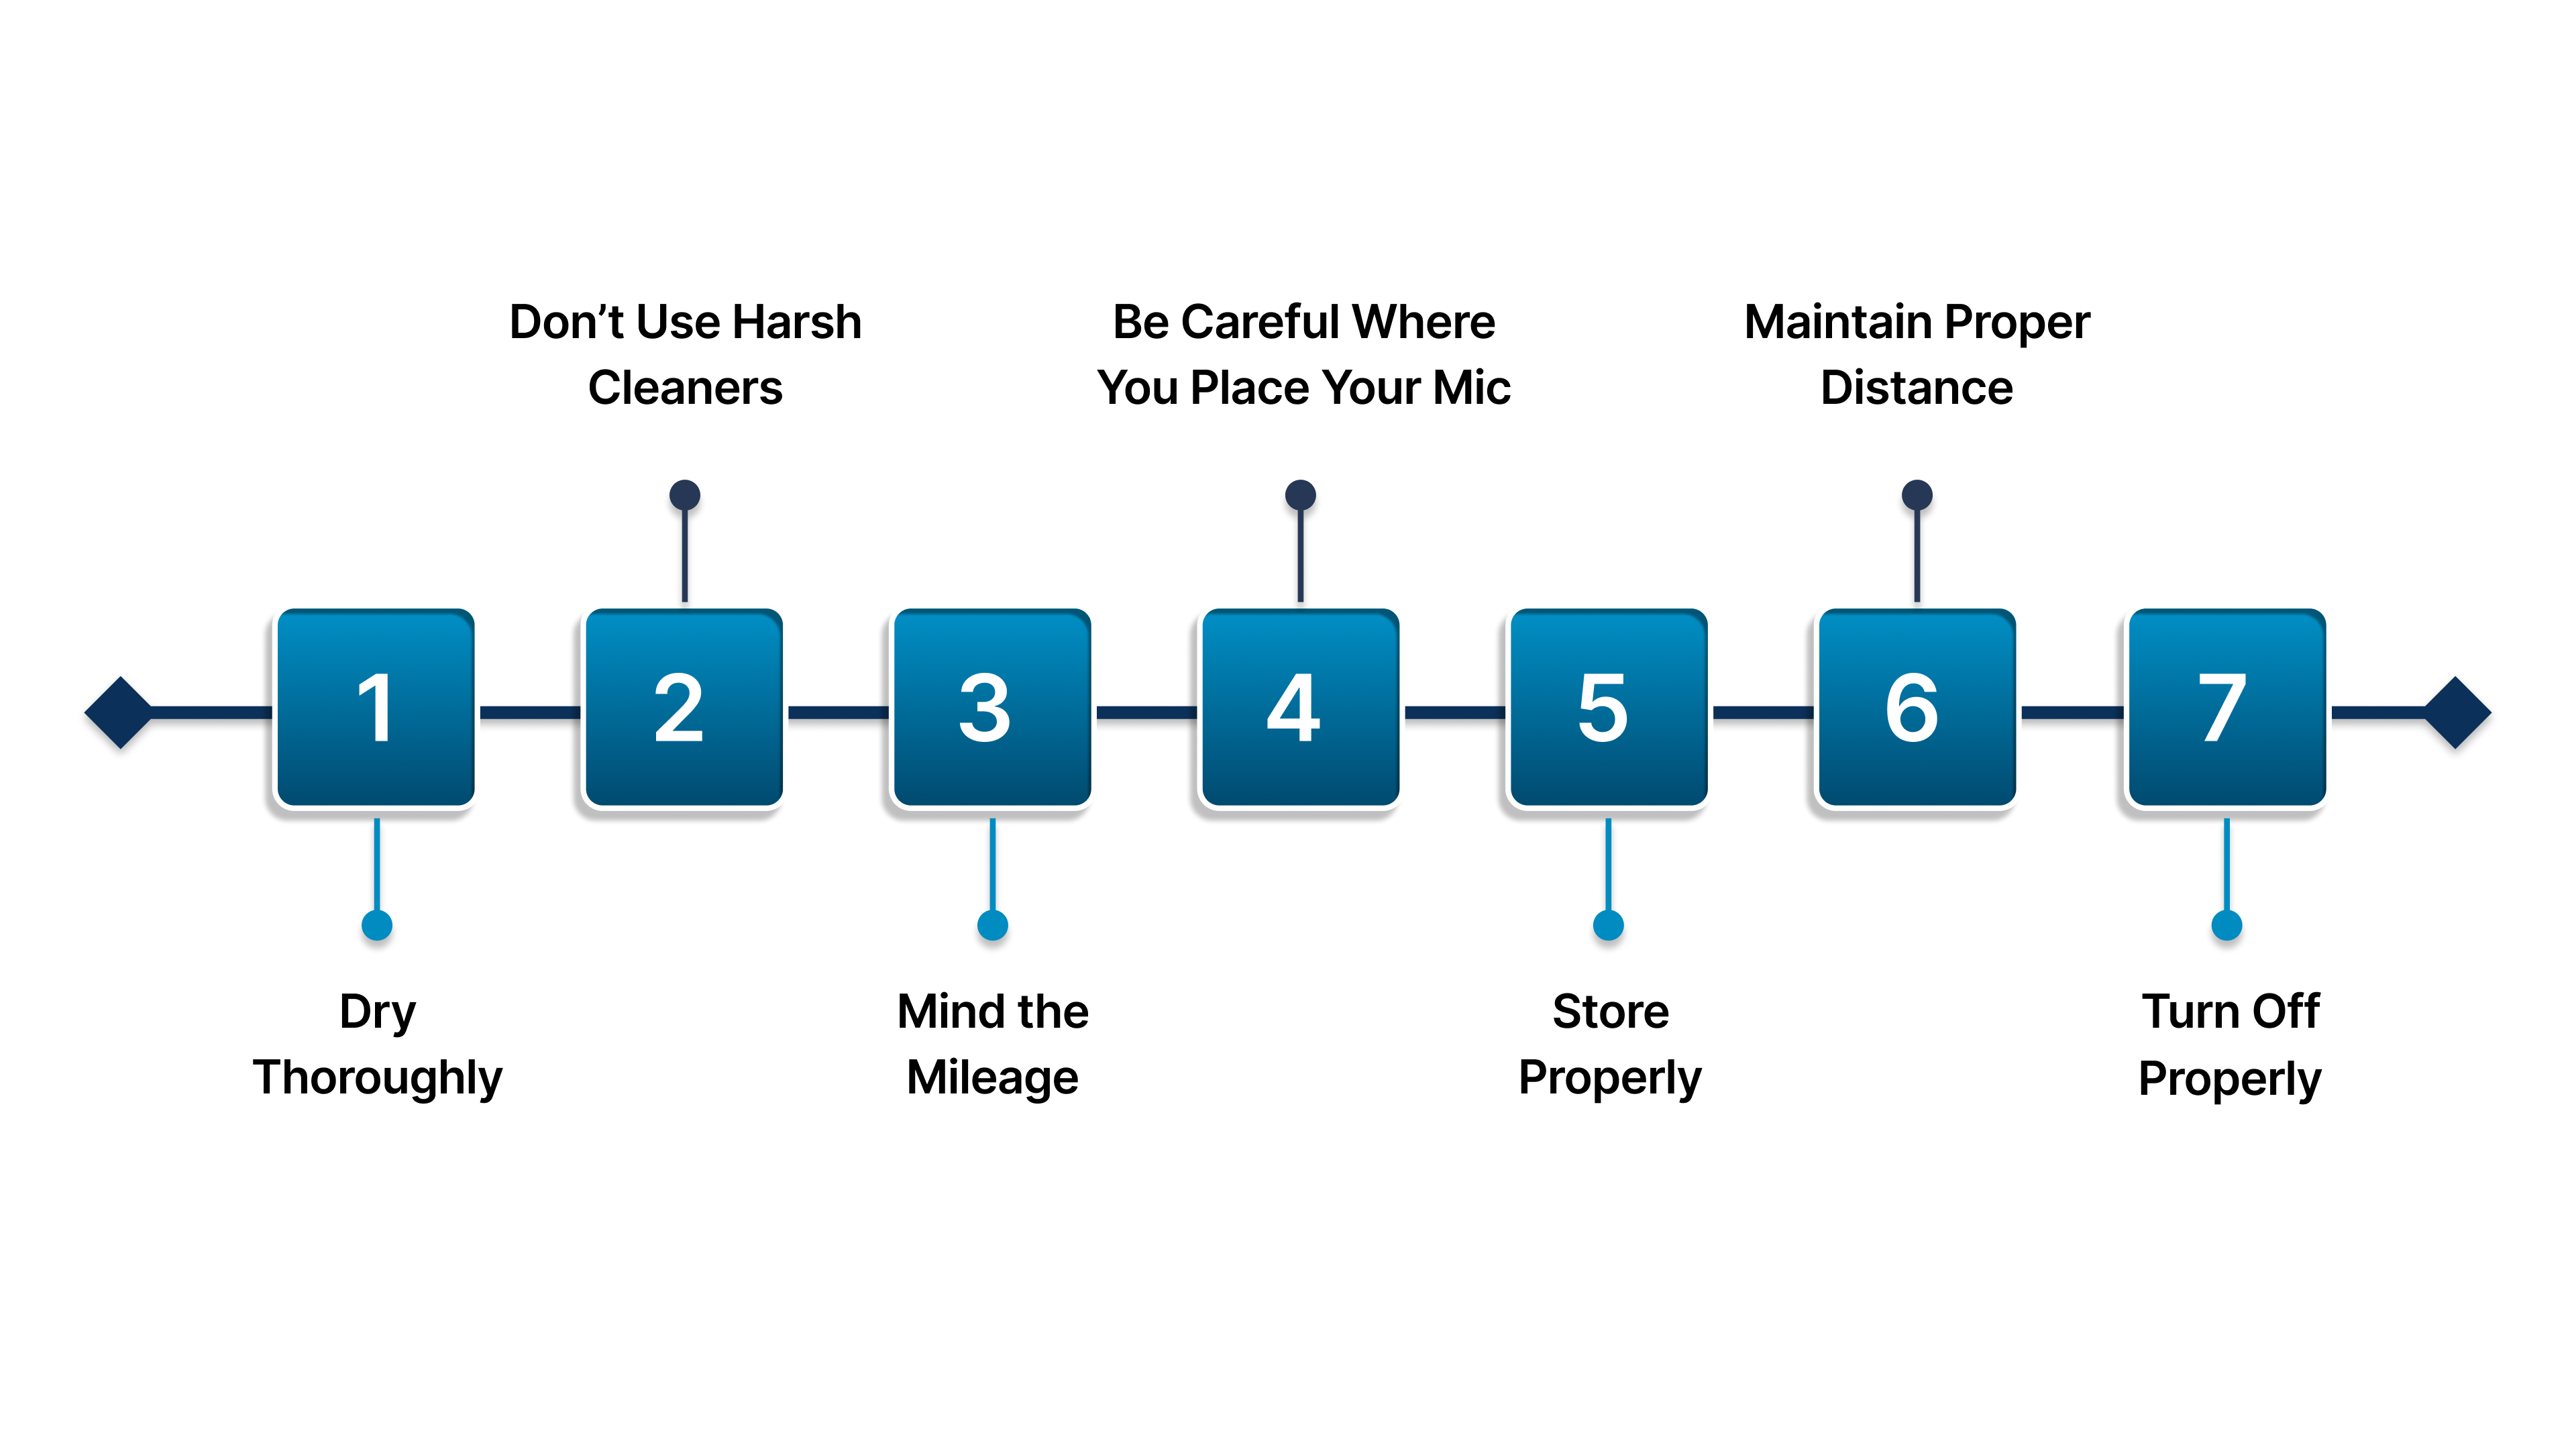
To ensure your microphone continues performing at its best for years, adopting a few simple yet effective strategies is key. Here's how to care for your microphone and avoid common mistakes that can lead to damage:
Dry Thoroughly
After each use, allow your mic to dry naturally. Wipe it with a dry towel and air dry it. Avoid using heat or other accelerants to speed up the drying process, as this can cause harm. Avoid blowing into the mic to “test” it, as this introduces moisture and dirt.
Don’t Use Harsh Cleaners
Many microphone manufacturers warn against using cleaners or sanitizers, as these can degrade the mic’s quality. Clean only with a dry cloth or the recommended solutions.
Mind the Mileage
If your studio has more than three classes a day, alternate headsets between sessions. This prevents excessive sweat buildup that could damage the microphones.
Be Careful Where You Place Your Mic
Condenser mics are sensitive instruments that can react to even small pressure changes. Never place them near speakers or in areas with high sound levels, as this can affect their performance.
Store Properly
Always store your microphone in a dry, temperature-controlled environment. Store your microphones in protective cases when not in use to prevent dust, moisture, and physical damage. Place silica gel packs in storage cases to absorb excess moisture, keeping your mics dry and safe.
Maintain Proper Distance
When recording vocals, keep the mic about 6 inches from your mouth to avoid plosives. Close proximity can lead to damaging sounds that degrade the mic over time.
Turn Off Properly
For tube condenser mics, always connect the cable from the power supply before turning it on. Sudden power shocks can damage the mic’s delicate internal components.
To help you better care for your microphone, Scan Sound offers microphone windscreens and disposable covers designed to protect your gear from moisture, dust, and wear. Whether it's disposable medium-sized microphone covers or disposable covers for podium microphone, our products provide the reliable protection needed to extend your equipment’s life and keep it performing at its best.
By following these straightforward practices, you can significantly extend the life of your microphone and keep it performing at its best, whether in the studio, at an event, or in your office.
Recommended Read: Benefits of Disposable Headphone & Headset Covers
To help you protect your microphones for the long haul, here’s why Scan Sound should be your go-to partner for microphone care and accessories.
Why Choose Scan Sound for Your Microphone Protection Needs
When it comes to protecting your microphones, Scan Sound offers practical, reliable solutions that ensure longevity and high performance. Here’s how our products stand out:
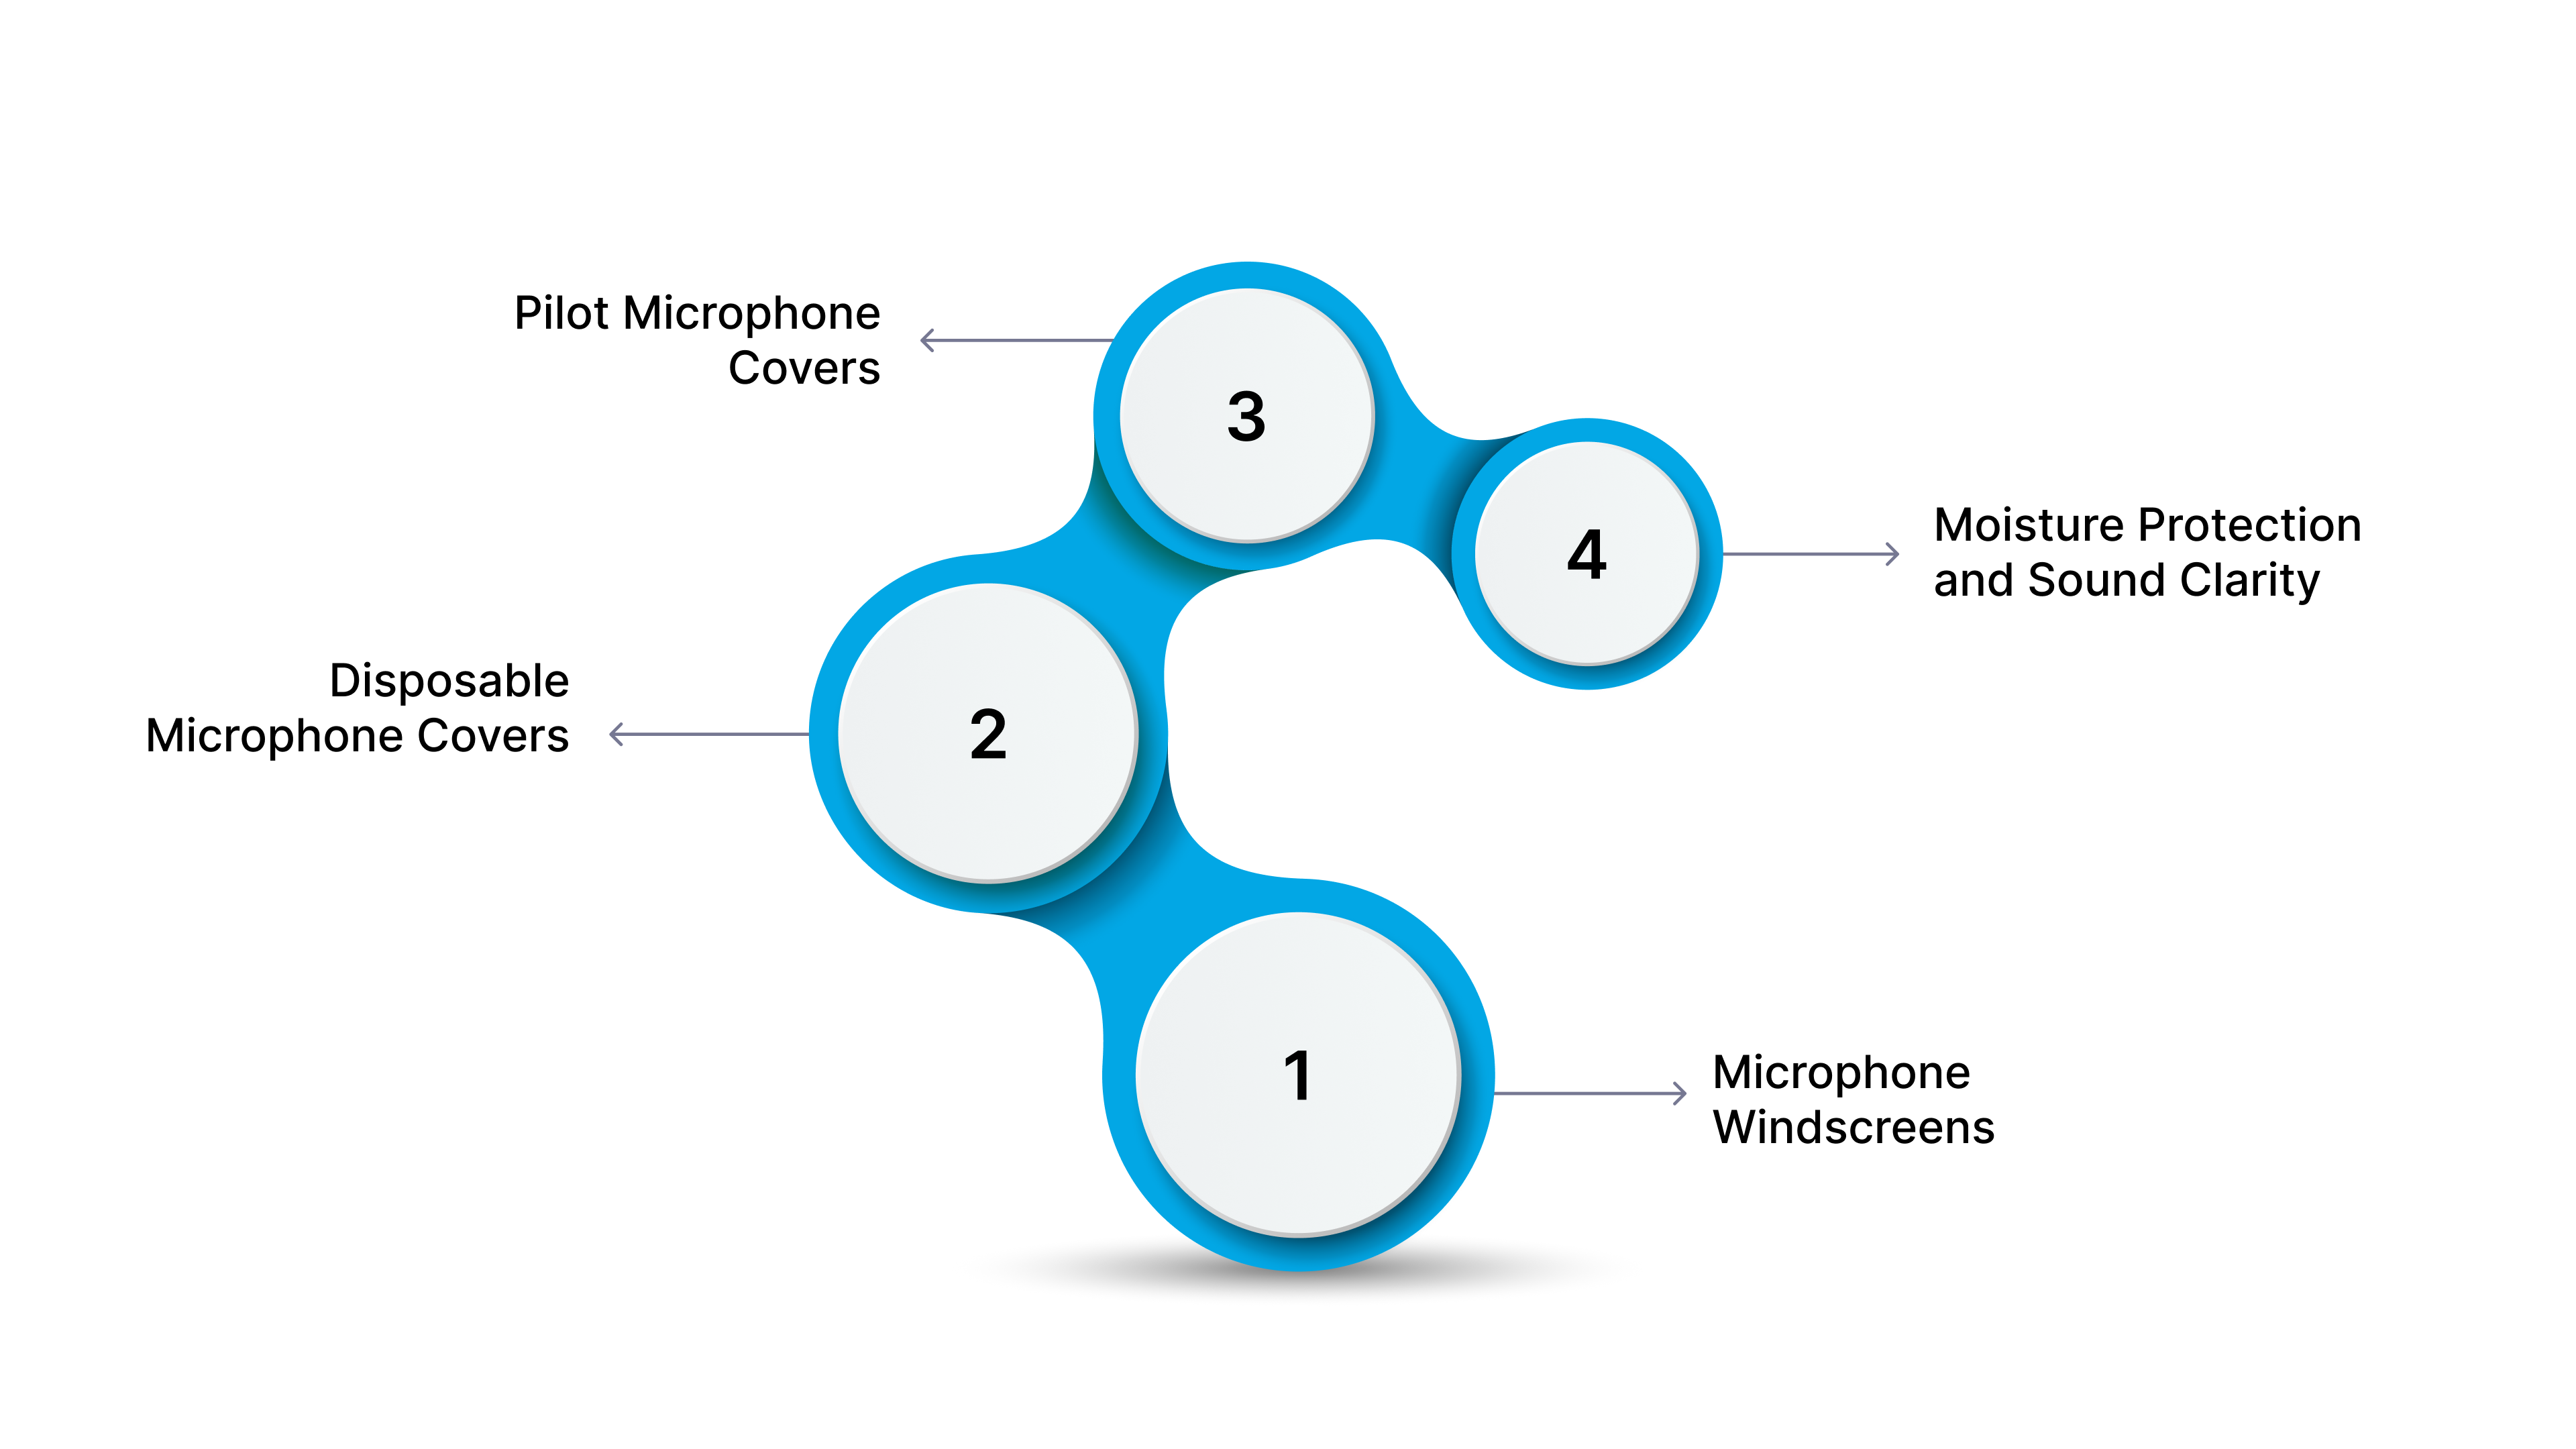
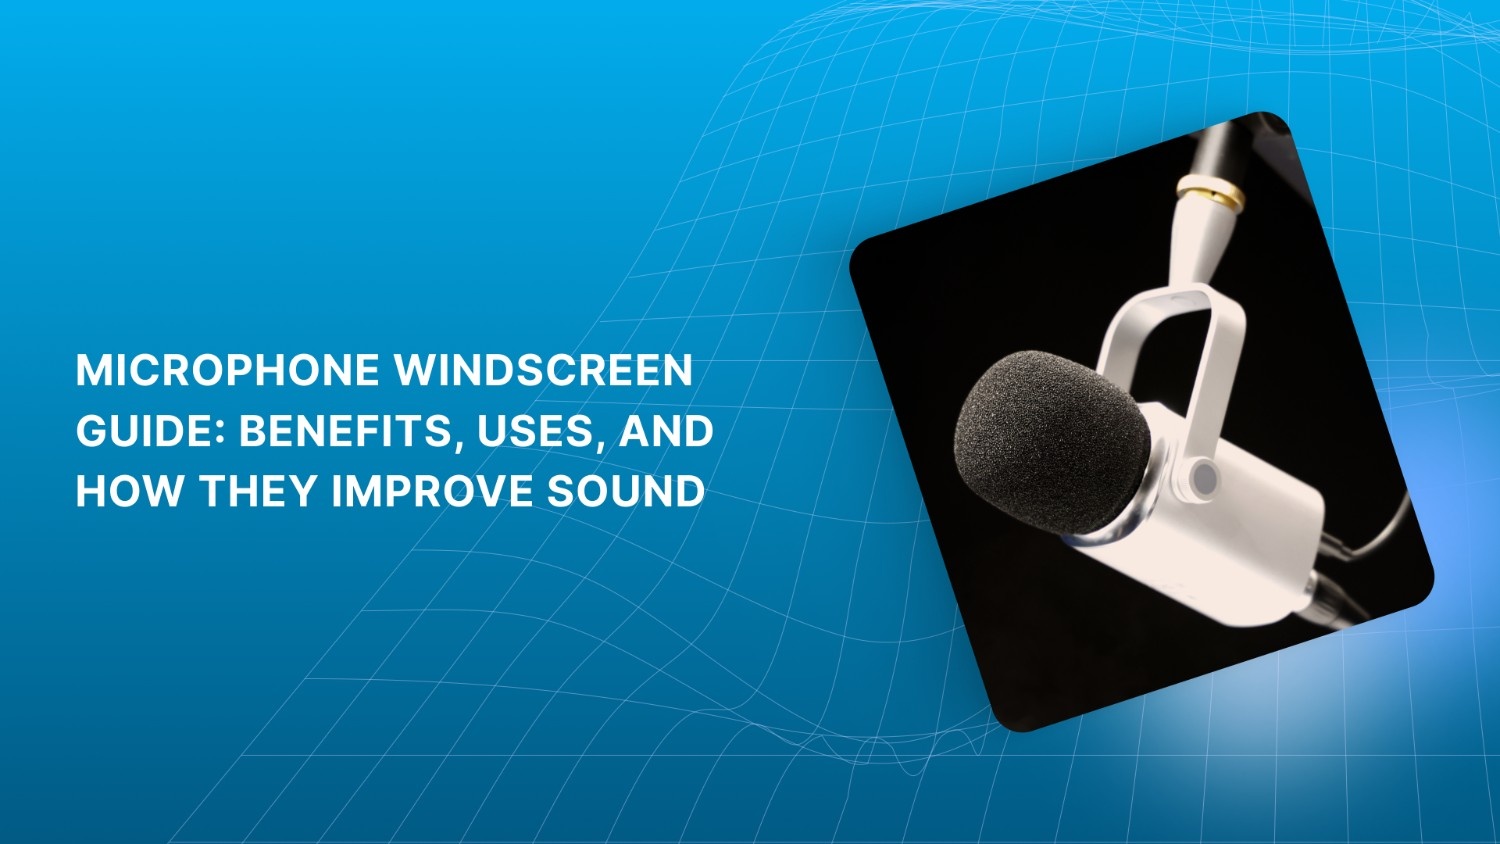
Microphone Windscreens: These essential accessories protect your microphones from damage by reducing wind noise, plosives, and unwanted background sounds. Our windscreen options fit a variety of microphones, including shotgun, headset, and desktop models.
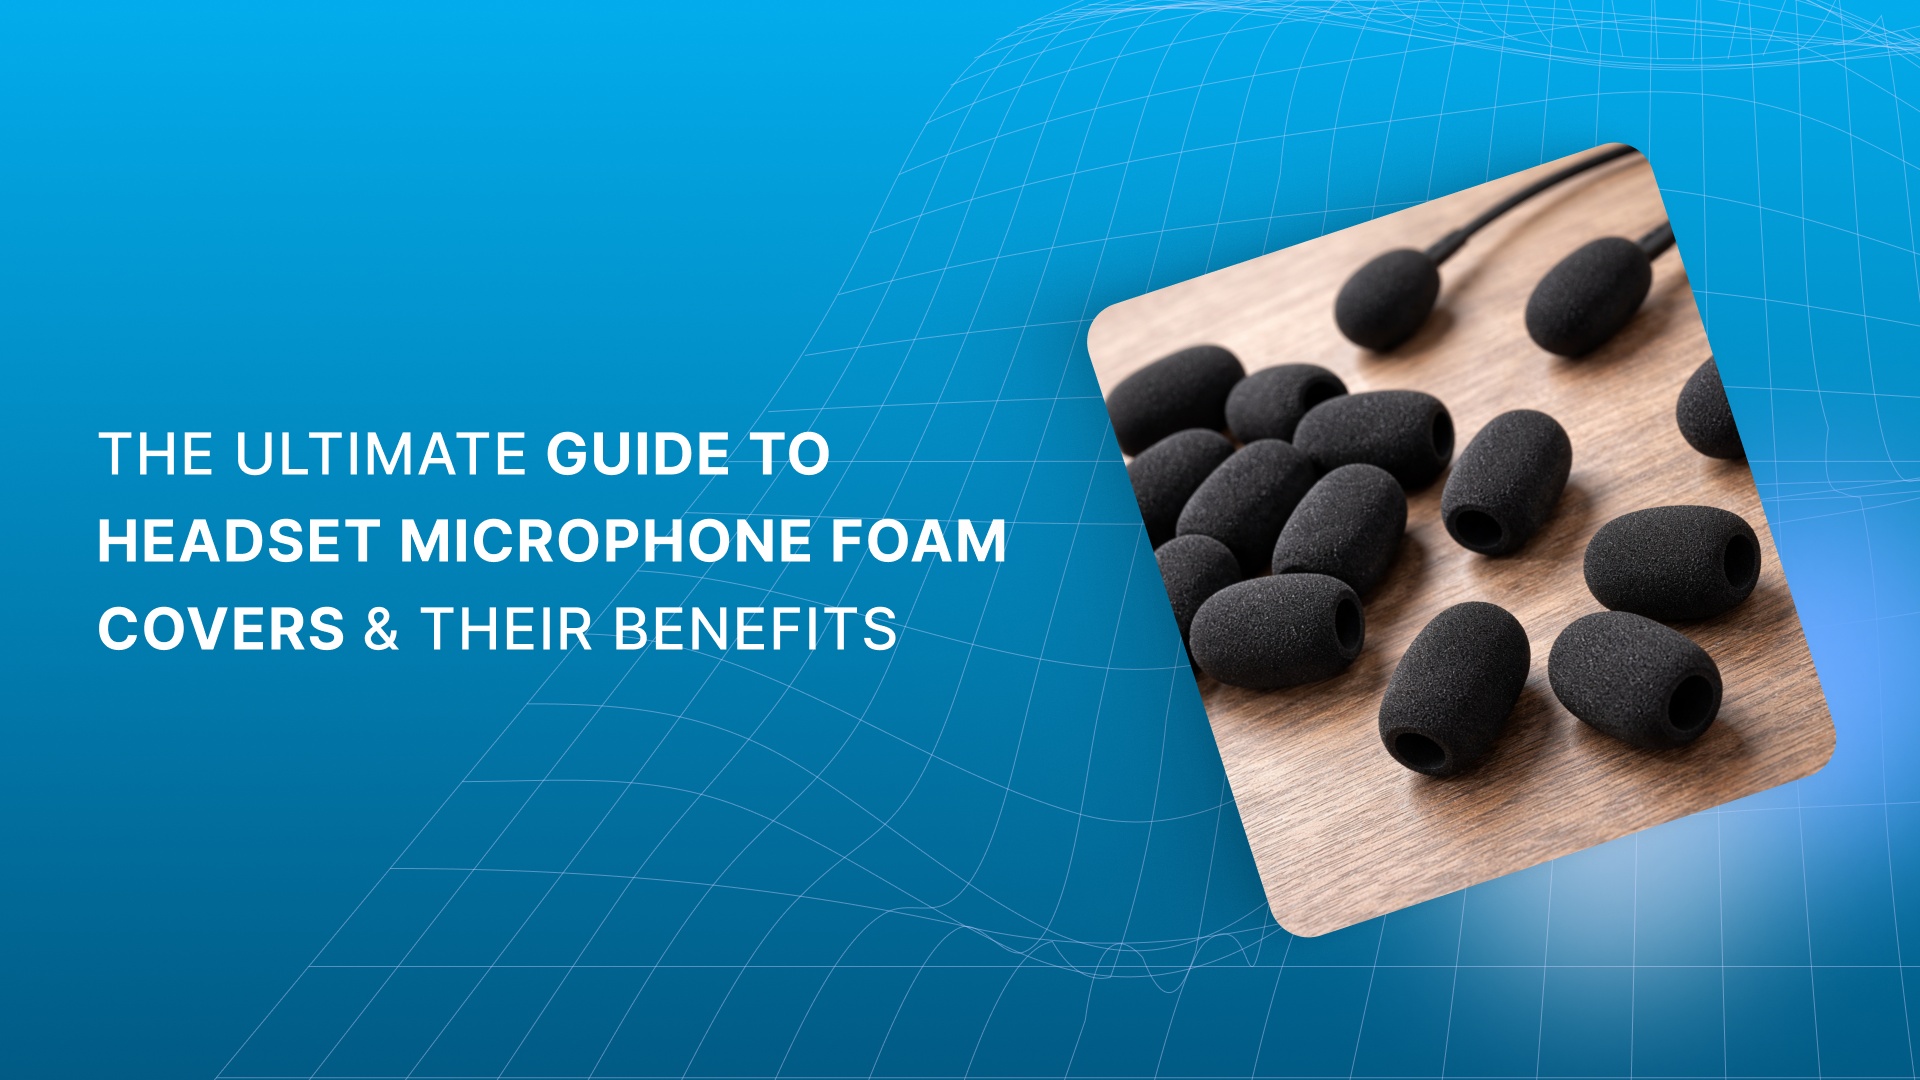
Disposable Microphone Covers: Ideal for high-traffic environments like call centers, studios, and public spaces, our disposable covers provide an effective barrier against saliva, dust, and moisture. They’re easy to install with a rubber band and ensure your microphones stay clean and protected between uses.
Pilot Microphone Covers: Specifically designed for aviation headsets, our pilot microphone covers offer protection against the elements, including wind and environmental contaminants. These covers fit most headsets and provide an extra layer of hygiene, essential for high-use environments like airplanes and helicopters.
Moisture Protection and Sound Clarity: Each of our windscreens and covers is designed to enhance sound quality while safeguarding your microphones from moisture exposure, making them ideal for outdoor use, live events, or high-humidity areas.
With Scan Sound, you get tools that preserve the quality and functionality of your equipment.
Conclusion
This guide has outlined essential strategies for protecting your microphones from damage, including tips on handling, cleaning, and storing your gear properly. With the right care, your microphones will continue to perform at their best, avoiding costly repairs and ensuring clear, reliable audio for every session.
Scan Sound offers a wide selection of microphone windscreens and disposable microphone covers, designed to protect your equipment from moisture, dirt, and wear. With a range of options, including desktop mics and headset microphones, we provide the protective accessories you need to maintain your gear in top condition.
Looking to protect your microphones for long-term use? Get a quote from us for microphone covers and windscreens to keep your gear in top shape.
FAQs
1. How to stop a mic from cracking?
To prevent mic cracking, always handle it carefully, avoid sudden impacts, and ensure proper storage. Using a microphone windscreen can also reduce unwanted vibrations and noise.
2. What is the 3:1 rule for mics?
The 3:1 rule for microphone placement recommends that the distance between the mic and the sound source should be three times the distance between the mic and any other sound source to prevent phase issues and unwanted noise.
3. How to protect your microphone?
Protect your microphone by using windscreens, disposable covers, and proper storage. Always store your mic in a protective case and avoid exposure to moisture or extreme temperatures.
4. What does putting a sock over your mic do?
Placing a sock over your mic (often called a DIY windscreen) helps reduce wind noise, plosives, and sibilance during recording, though it’s less effective than a purpose-built windscreen.